


-
An air purifier only works as well as its filters allow. Over time, filters clog with the dust, allergens, and particles they capture. When that happens, airflow drops, the motor works harder, and filtration efficiency decreases significantly. Regular cleaning keeps the unit running at full capacity and extends its lifespan.
Here is how to do it properly.
How to Clean an Air Purifier
Step 1: Turn Off and Unplug the Unit

-
Always power off and unplug the purifier before opening it or touching anything inside. Air purifiers use fans with moving blades, and some models use electrostatic components that carry a charge. Unplugging first removes any risk.
Step 2: Wipe Down the Exterior
Use a soft, slightly damp cloth to wipe the outside of the unit. Pay attention to the air intake vents and the air outlet, where dust tends to collect. Avoid spraying any liquid directly onto the purifier. For stubborn buildup in the vents, a soft brush or the brush attachment on a vacuum works well.
Harsh chemicals and abrasive cloths are not necessary. A damp microfiber cloth is enough.
Step 3: Remove and Clean the Pre-Filter

-
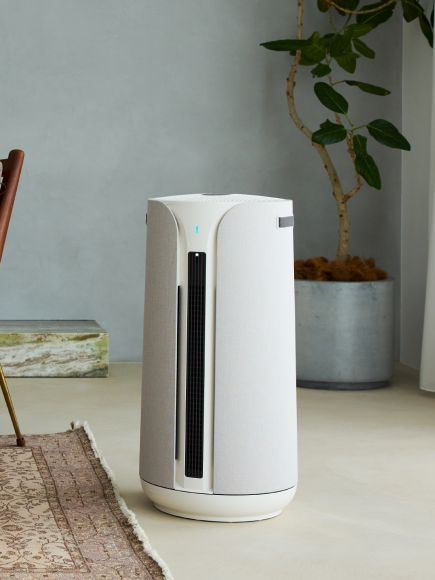
Most air purifiers have a fabric or mesh pre-filter that catches larger particles like pet hair, lint, and dust clumps before they reach the main HEPA filter. On Blue Pure models, the pre-filter is the colorful fabric sleeve that wraps around the outside of the unit.
Remove the pre-filter and shake it out over a trash can or vacuum it gently with a brush attachment. Many fabric pre-filters are also washable. Check the user manual for the specific model, as care instructions vary. Always let a washed pre-filter dry completely before reinstalling, as putting a damp pre-filter back can promote mold growth.
Cleaning the pre-filter every two to four weeks makes a real difference in how long the main filter lasts and how efficiently the unit runs.
Step 4: Check the Filter

-
True HEPA filters should never be washed or rinsed. Water damages the fiber structure that makes HEPA filtration effective. Getting the filter wet compromises its ability to capture fine particles.
What works is gently vacuuming the outer surface using a low-suction brush attachment. Hold the nozzle slightly away from the filter rather than pressing against it. Vacuuming removes the outermost layer of accumulated dust without disturbing the filter media underneath.
Do this monthly or whenever the pre-filter gets cleaned.
Step 5: Replace the Filter on Schedule

-
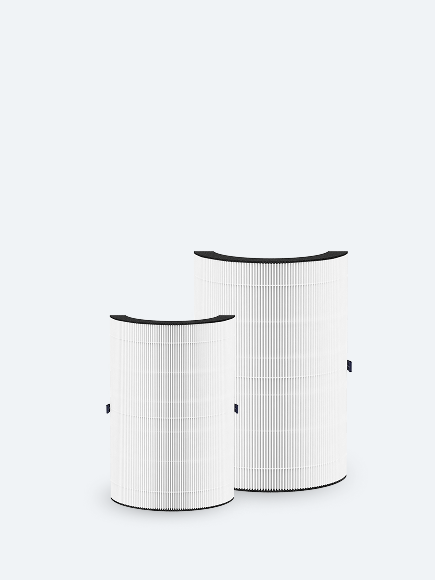
Vacuuming extends the useful life of the filter but does not reset it. HEPA filters need to be replaced when they reach the end of their service life, typically every 6 to 9 months, depending on runtime and local air quality.
On Blueair Max series models, RealTrack Technology monitors actual usage, fan speed, and pollution levels to give a personalized replacement estimate through the Blueair app, rather than relying on a generic timer. When the app indicates a filter change, replacing it promptly keeps filtration performance where it should be.
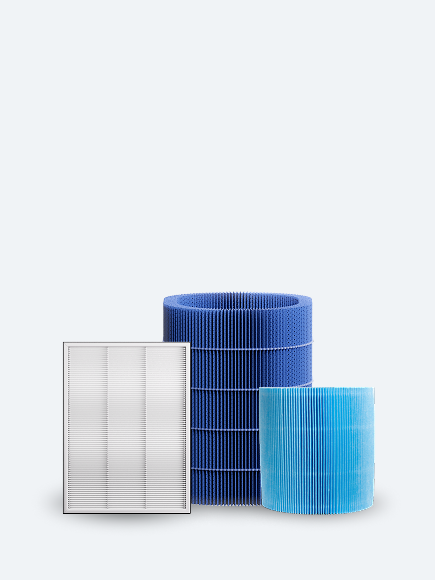
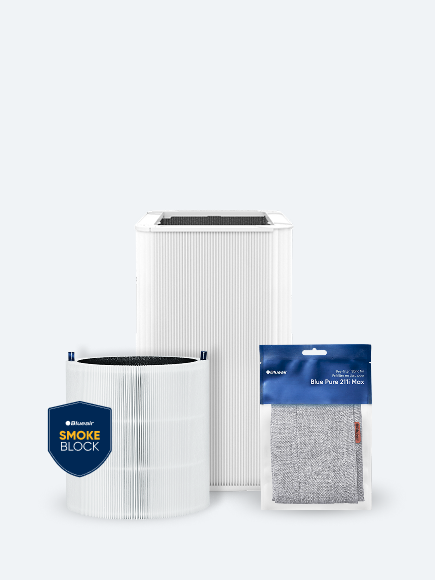
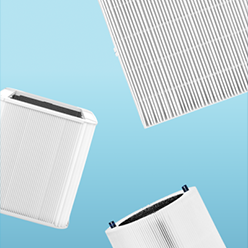
Replacement filters for Blue Pure models are available in three types: Particle + Carbon (standard), SmokeBlock (enhanced odor removal), and AllergenBlock (extra allergen protection). A filter subscription saves 15% on every replacement and ensures filters arrive on schedule.
Step 6: Reset the Filter Indicator (If Needed)
After installing a new filter, the filter indicator light should reset automatically on most models. If the light stays on after a filter change, verify the filter is the correct type for the model and that it is fully seated with the cover properly closed. On many Blueair models, pressing and holding the fan speed button for about 15 seconds resets the indicator manually. For model-specific instructions, the Blueair support page and SmartFilter FAQ cover reset procedures in detail.
Step 7: Reassemble and Run
