











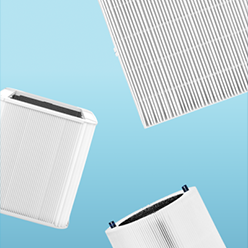



Replacing your DreamWell™ wick filter is quick and easy
Watch the video below for a full walkthrough, or follow the simple step-by-step instructions on this page.
Step 1: Turn off, unplug and open your humidifier
Turn off your DreamWell™ Humidifier and unplug it from the power outlet.
Turn the locking sliders counterclockwise to unlock the unit, then gently lift the top enclosure away from the base.
Step 2: Remove the old wick filter
Locate the snaps on the wick filter cover and release them to remove the cover from the wick frame.
Then, use the tabs on the wick filter to gently lift the old filter out of the frame.
Step 3: Install your new wick filter
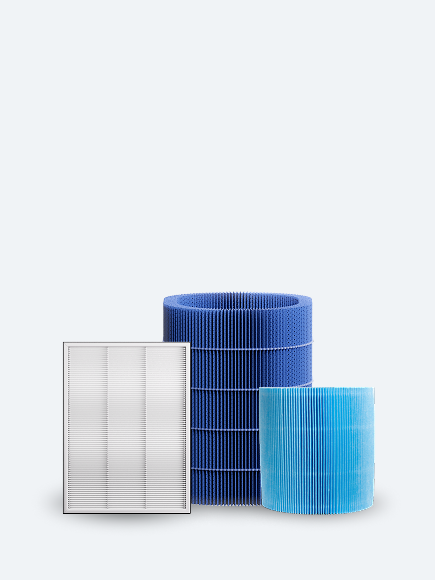
Place the new DreamWell™ wick filter onto the reusable wick frame.
Align the snaps on the wick cover and press the cover back into place. You should hear a click when it is securely installed.
Before continuing, check that the wick, wick cover and wick frame are all securely in place.
Important: Keep the reusable wick frame and cover. These parts should be reinstalled each time you replace the wick.
Step 4: Reassemble your humidifier
Place the top enclosure back onto the base. You should hear a click when it is properly connected.
Turn the locking sliders clockwise to lock the humidifier back into place.
Step 5: Reset your filter indicator light
Once your new wick is installed, plug the humidifier back in and turn it on.
Press and hold the Fan Speed button for about 15 seconds, until the LEDs on the display light up. Then release the button.
This resets the wick filter indicator so your DreamWell™ can begin tracking your new filter.